Click here for all board support packages, tools and drivers for the NUC505
You will need these items:
- The Keil IDE
- The Nuvoton NUC505 Board Support Package (BSP)
- Place this in your NUC505 work folder.
- The Bongiovi DPS ARM SDK Keil project
- Place this folder in your NUC505 work folder
- The Nu-Link Keil Drivers
Keil v5 Setup
Cortex Micro controller Software Interface Standard (CMSIS) 4.3.0 must be installed for use with the Bongiovi DPS SDK. In Keil v5 it must be installed using the Pack installer tool:
- Install and license the Keil IDE.
- Install the latest Nu-Link Keil drivers (available from Nuvoton).
- Launch Keil.
- Click the Project menu.
- Select Manage -> Pack Installer
- In the Pack Installer, choose the Packs menu and Check for Updates
- On the right side, expand ARM::CMSIS
- Install the latest version as well as 4.3.0.
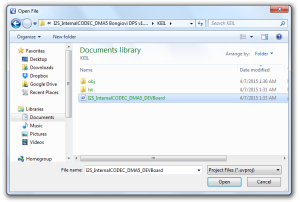
- In the File menu, click Open.
- In the drop down menu above the Open button, choose Project Files (.uvproj).
- Browse to the Bongiovi DPS Sample Project folder.
- In the KEIL folder, double-click the Main Project.uvproj file to open the Sample Project.


Building the Project
After adding a new indices.c file or changing the code, you will have to build the project to generate a new .bin file:
- Click the Project menu.
- Choose Build Target.
- The project should build with 0 errors.
- The .bin file will be generated in …/Bongiovi Sample Project/KEIL/obj/.
Setup the Nu-Link In-Circuit Programmer in Keil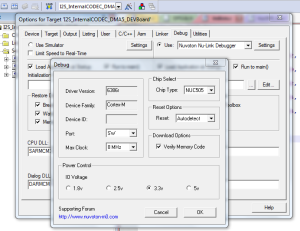

A Nu-Link-M3 flashing tool is built into the NuTiny EVB for the NUC505
- Click the Flash menu.
- Click the Device tab.
- In the Database drop down menu, choose NuMicro Cortex-M Database.
- Scroll to the bottom of the list and chose NUC505YO13Y (88 pin package).
- Click the Debug tab.
- At the top-right of the window, click the Settings button.
- Set Max Clock to 8MHz.
- Be sure all settings are same as image on the right.
- Click OK to close the windows.
Flash the Audio Board in Keil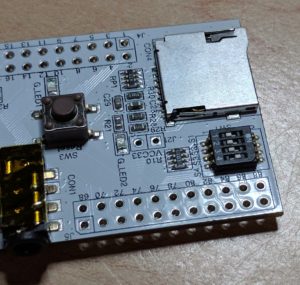
- Connect a USB cable between your PC and the end mini connector of the Nu-Tiny EVB (CON2).
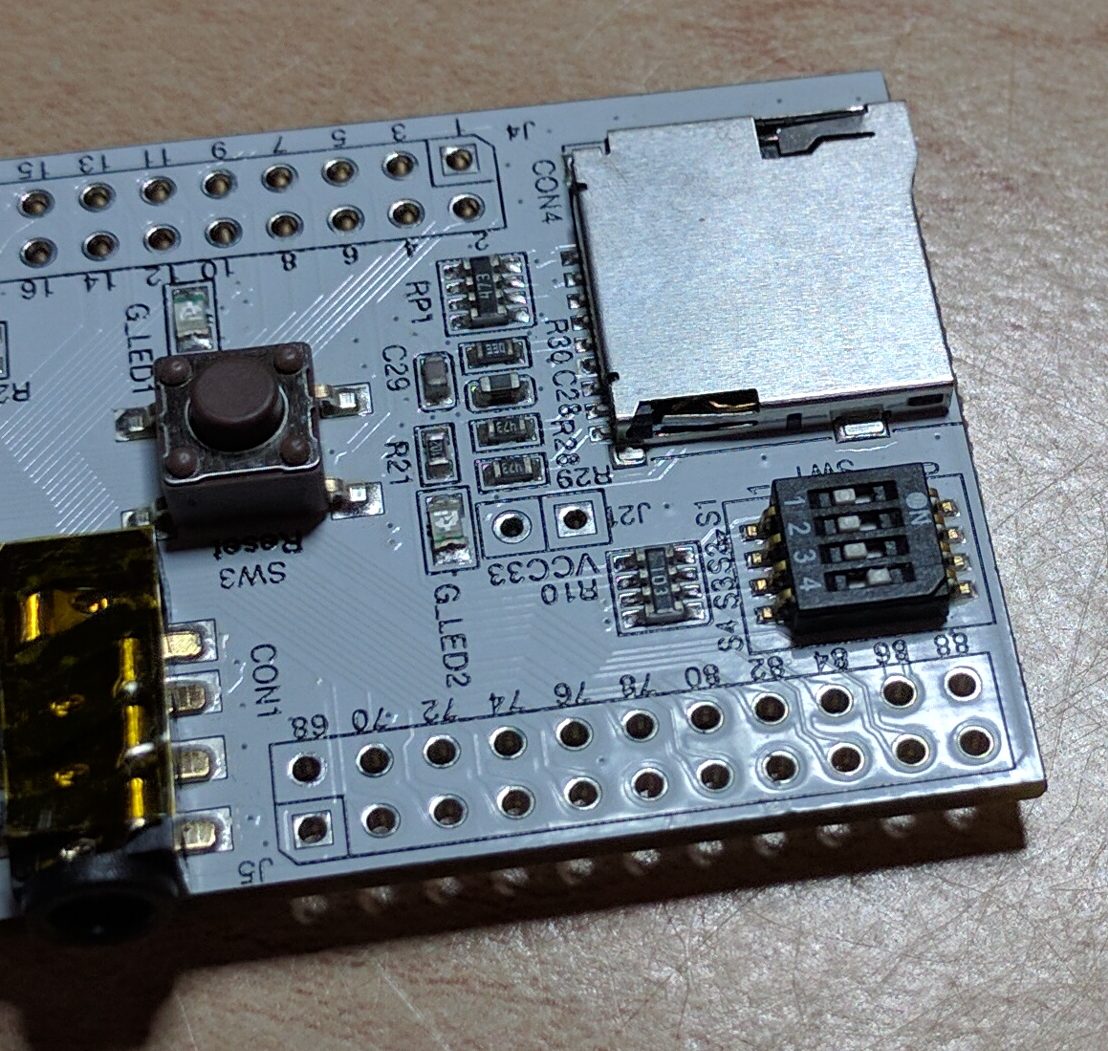
- Set DIP switch 4 to ON (SW1) on the Audio Board to ICE programming mode as shown in the picture.
- Press the reset button (SW3) on the EVB.
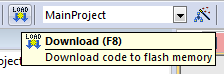
- Click Download (or F8 function key) in the Flash menu.
- If this is the first time flashing, you may be prompted to update the firmware of the Nu-Link. Follow the instructions for updating the firmware or click No to skip the update if you have trouble.
- After updating the firmware, you will have to click Flash/Download again.
- If this is the first time flashing, you may be prompted to update the firmware of the Nu-Link. Follow the instructions for updating the firmware or click No to skip the update if you have trouble.
- If connection is successful, you will see a blue progress bar at the bottom of the Keil window. The .bin file will be flashed into the NUC505.
- Reset DIP switch 4 to OFF.
- All 4 switches on SW1 should be toward CON1 for normal operation.
- Press the reset button.
- Remove the USB cable from CON2. If you wish to power the EVB from your computer, use CON3.
- Connect audio and serial to the Audio Board to verify your changes.