The In-Circuit Programming (ICP) Tool is as stand alone application for flashing .bin files into the NUC505. Click here to download the latest version from Nuvoton.
- Install the latest version of the ICP Programming Tool from the link above.
- Also install the NuLink drivers when prompted.
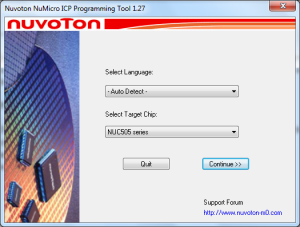
- Launch the application.
- Chose NUC505 Series from the drop down menu.
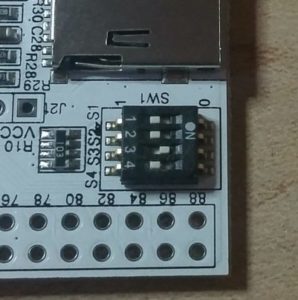
- On your Nu-Tiny evaluation board, set SW1 to ICP programming mode as shown in the picture (switch 3 ON).
- NOTE: If you are flashing a custom NUC505 integration, connect PB3 to ground at this time.
- Connect USB mini wire to CON2 on the Nu-Tiny (you cannot flash when using CON3). Connect you your PC’s USB port.
- Click the Connect button at the top of the ICP Programming Tool window.
- The text will display Connected when successful.
- It is not necessary to update the NuLink firmware.
- If you get an error, check these items:
- The switch or PB3 connection is set properly for ICP programming.
- Press the RESET button (SW3).
- Click the Code button to browse to the .bin file you wish to flash to the NUC505.
- Compiled .bin files are located in …/<Keil Sample Project Folder>/KEIL/obj.
- The DPS Sample Project will output MainProject.bin.
- Click Start at the bottom right of the window.
- After the flashing completes,
- Set all switches of SW1 to OFF.
- …or disconnect PB3 from ground.
- Press the RESET button (SW3).
- Set all switches of SW1 to OFF.
- Confirm your changes to the NUC505 firmware.
- NOTE: Do not apply power to CON2 from a PC when using UART to control DPS. Serial communication will not work.
- Connect USB to CON3 to power the Nu-Tiny.
